The Facebook side
How to configure Facebook
The very first thing you have to do is to create a Facebook application.
- Open https://developers.facebook.com/app (if you are not registered yet, do it here). Look at that 'Create new app' button. It's your friend.
- Fill the popover form that appears
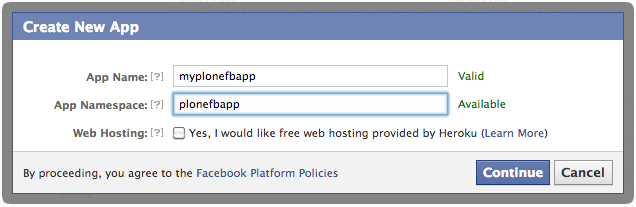
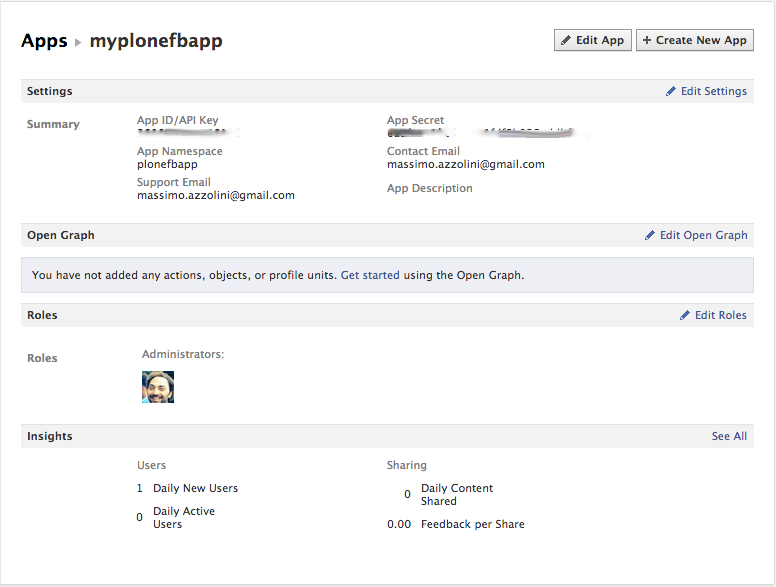
- Pass the security check (captcha). This is what you get:
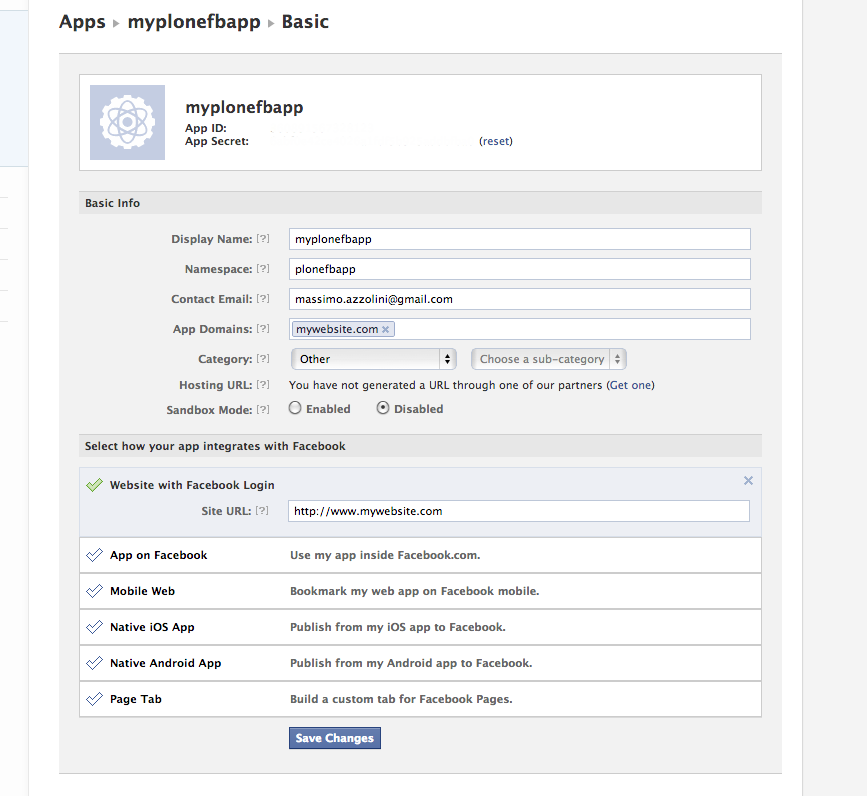
- Edit the settings and complete the basic configuration with few more data:
- the domain of your website (e.g. mywebsite.com)
- (opt.) if you want to have Facebook autentication, select "Website with Facebook Login" and set the URL of your website.
- (opt.) choose a category
Debug your HTML pages
There a useful tool that checks how Facebook sees your page: https://developers.facebook.com/tools/debug
For example, checking a News object on a Plone website, this what you can get.
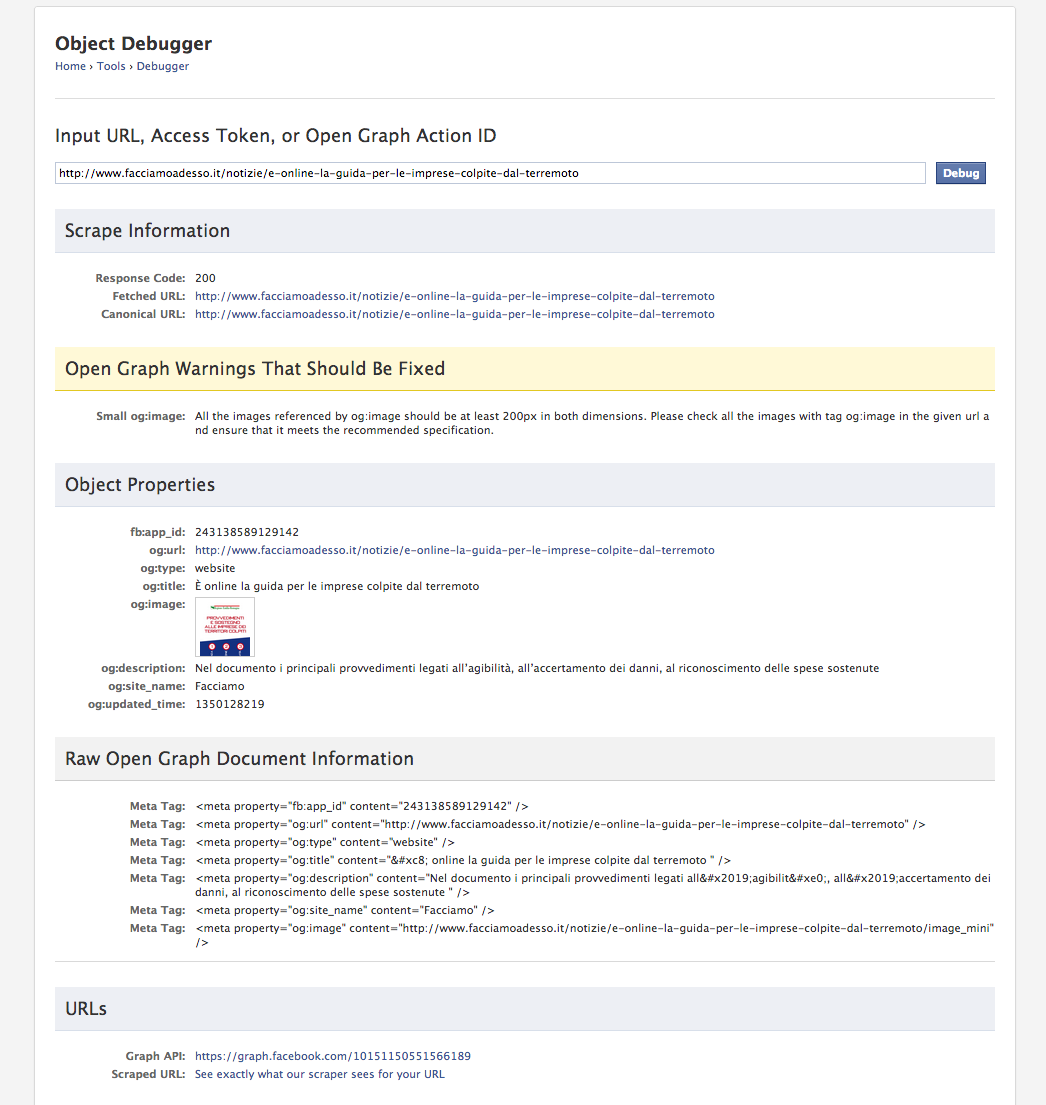
Please, note all of those 'og:xxx' properties that has to be added to a standard Plone page.
There is also a warning about the image loaded in that news. It's about the fact that the usual image_mini is 140x200 and Facebook wants to have at least one 200x200 image set on the 'og:image' property.
Understanding and configuring Facebook permissions
XXX
TO DO
- Change og metadatas of a ATstandard to use it in Facebook in a custom way
- Custom Archetypes